Creating a gallery wall is one of the most impactful ways to personalize your home — and doing it with printable art makes it affordable, flexible, and fun! Whether you love minimalist designs or eclectic mixes full of color, this guide will walk you through everything from planning your layout to selecting frames and hanging like a pro. 🎨🖼️✨
What Is a Gallery Wall?
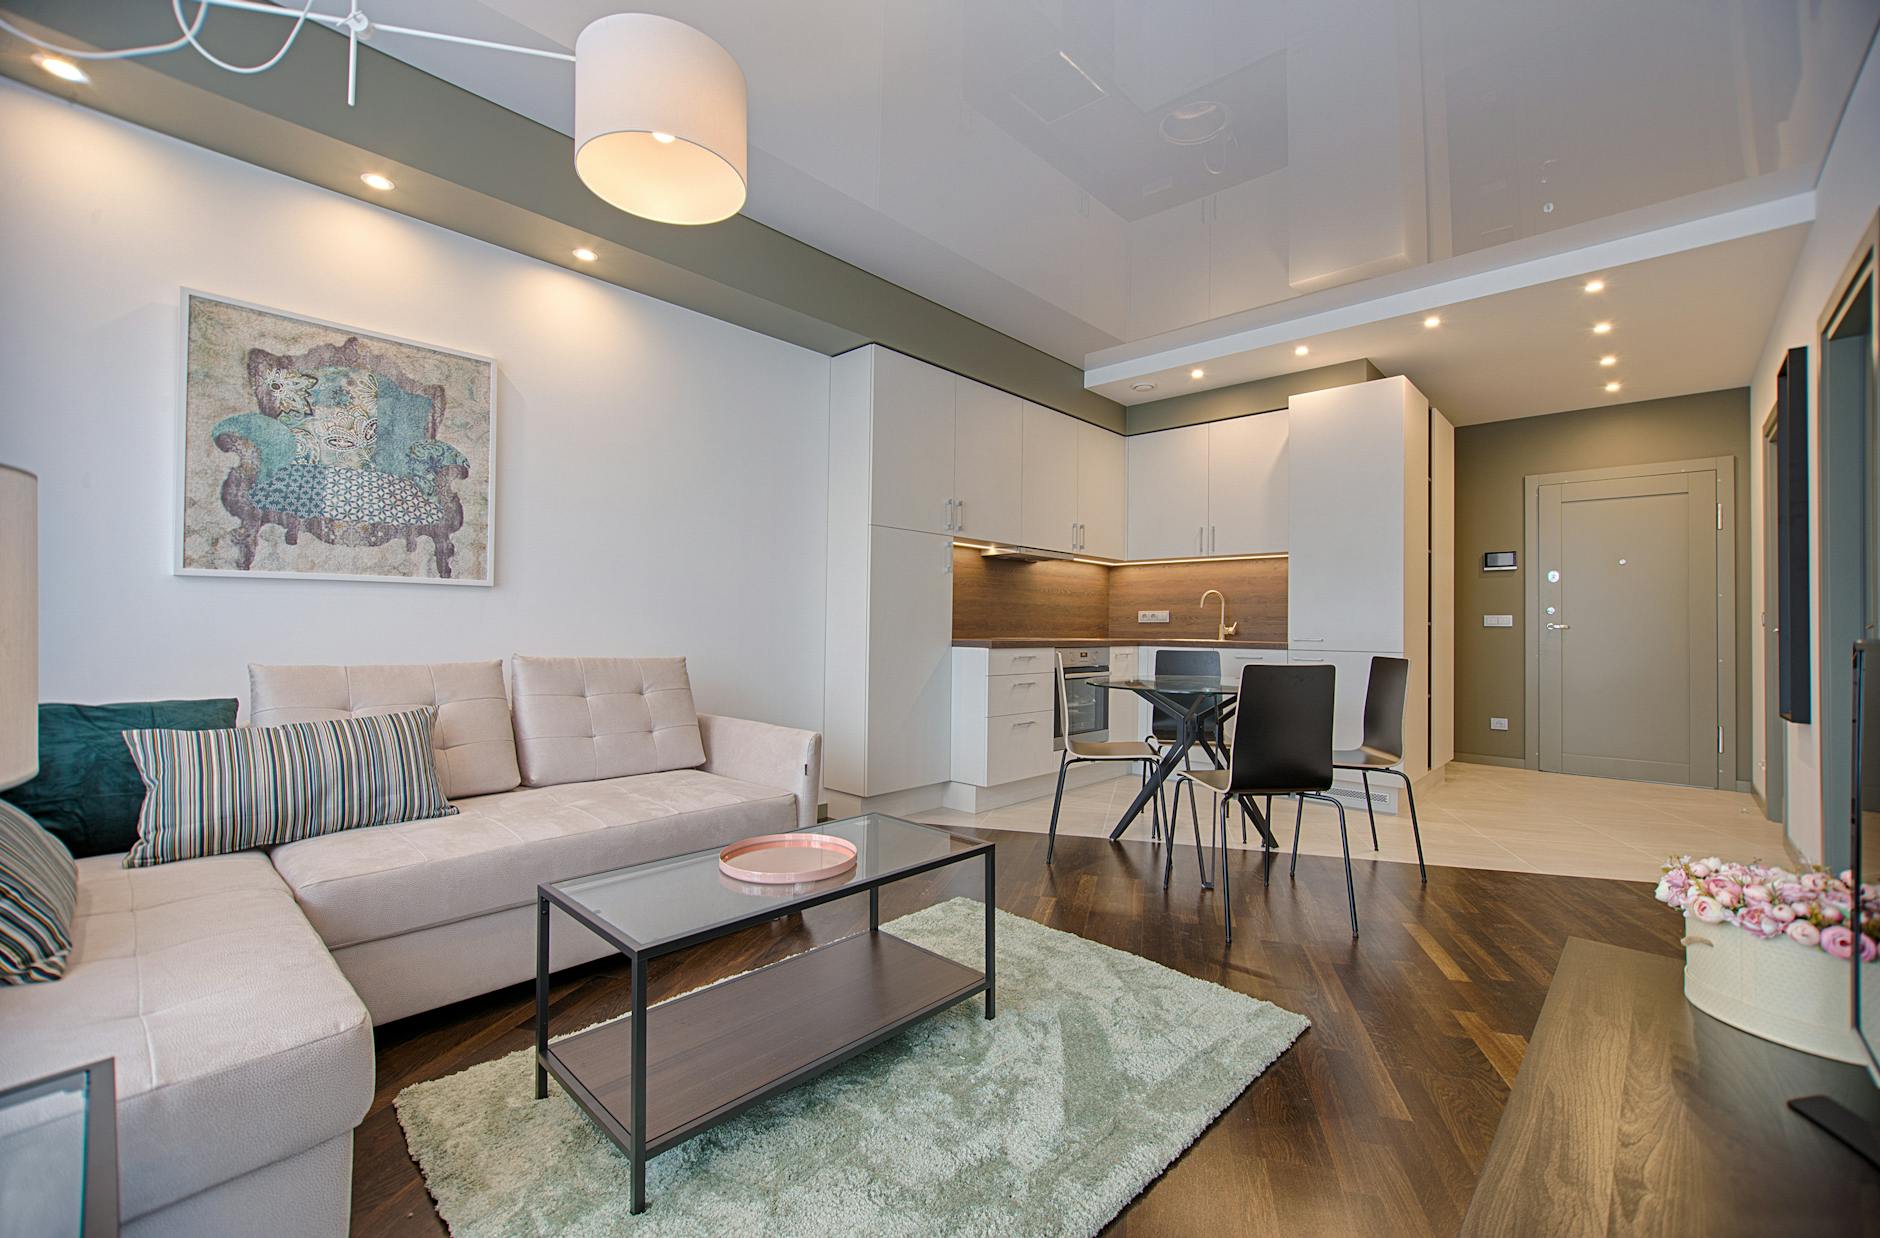
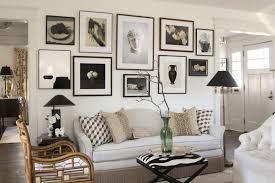
A gallery wall is a curated collection of artwork, photos, prints, and other pieces arranged on a wall as a unified display. Unlike a single framed piece, a gallery wall tells a visual story and becomes a stunning focal point in virtually any room — from living rooms to hallways and bedrooms. A well-designed gallery wall feels balanced, intentional, and expressive of your personal style.
Why Use Printable Art?
Printable art gives you incredible flexibility. You can download digital files — often for a few dollars or even free — and print them at home or at a local print shop. This means:
- Unlimited styles and themes 🌿
- Easy updates and seasonal changes 🔄
- Budget-friendly personalization 💸
Combine these prints with quality frames, and you have a gallery wall that feels custom-designed.
Step 1 — Choose the Right Wall

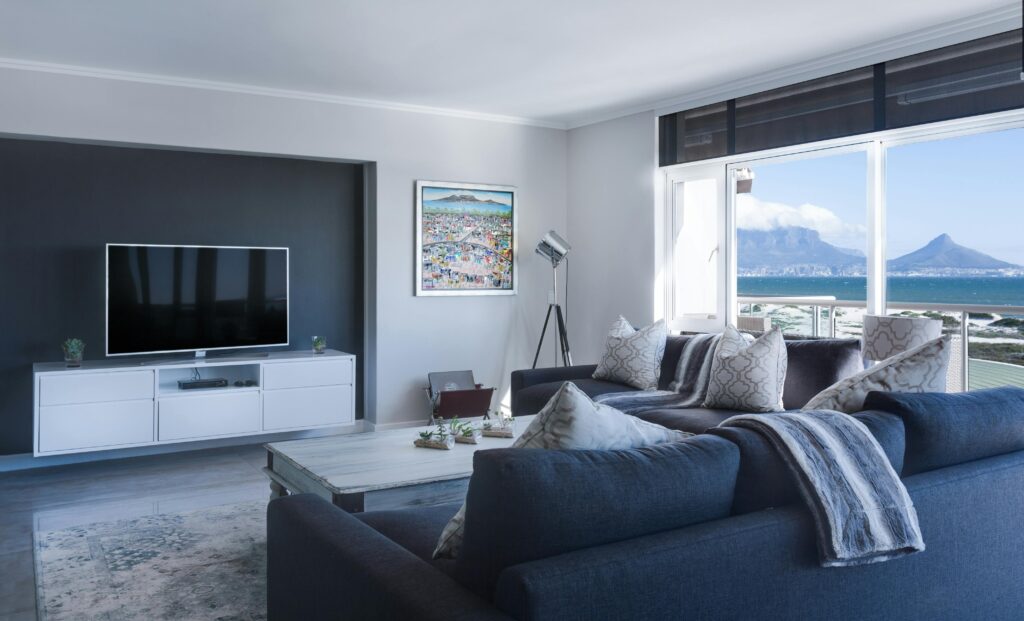
First, pick your spotlight wall. Great spots for gallery walls include:
- Above the sofa
- Over a console table
- Along a long hallway
- In a bedroom above the bed
Make sure the wall has enough space to breathe — leaving blank space around the edges helps the artwork stand out.
Step 2 — Pick Your Artwork Theme
Decide on a visual theme before you start printing:
- Black & White Photography for modern sophistication
- Botanicals and Nature Prints for a calming feel
- Abstract Art for creative energy
- Typography and Quotes for personality
Keeping a consistent palette or style makes your wall feel curated and cohesive.
Step 3 — Select Printable Art Files
Once you have a theme, choose or create printable files:
- Use digital art marketplaces
- Download public domain art collections
- Design your own with tools like Canva
Select a mix of sizes — larger prints anchor the design, while smaller pieces fill negative space.
Step 4 — Choose Frames (Amazon Picks)
Here are excellent Amazon frame options that make the hanging phase effortless and beautiful: 🛒
1. LUCKYLIFE Picture Frames Collage Wall Decor 10-Pack
A versatile set with multiple frame sizes (8×10, 5×7, 4×6) and mixed finishes perfect for creating dynamic layouts. Ideal for both wall mounting and tabletop display.
View this collage frame set on Amazon
2. ArtbyHannah 6 Pack Gallery Wall Frame Sets
Minimalist, stylish frame set that includes decorative art prints — great if you want ready-made assortments with clean design flair.
See this gallery wall frame set
3. Povrgive Picture Frames Set of 10
Complete value pack with assorted frame sizes and easy spring-loaded back system — perfect for rotating your printable art prints over time.
4. Fixwal Picture Frames Set, 15 Pack
A larger set with multicolored finishes — ideal if you want to create a gallery wall that feels layered and intentional.
Tip: Look for frames with matting options — these help make your printable art feel more professional and visually cohesive.
Step 5 — Plan Your Layout
Before putting nails in the wall:
- Mock up on the floor: Lay out frames and prints on the floor and play with their arrangement.
- Use painter’s tape templates: Cut paper the size of each frame and tape it to the wall to visualize spacing first.
- Keep spacing consistent: Aim for about 2–5 inches between frames to maintain balance.
Finding a layout you love before hanging makes the final installation smoother and more striking.
Step 6 — Hang Like a Pro
Follow these tips for a professional result:
- Keep the center of your gallery at eye level (about 57–63 inches from the floor).
- Start with the largest or most important piece to anchor your design.
- Mix portrait and landscape orientations for dynamic interest.
- Use quality hanging hardware appropriate for your wall type.
This method ensures your gallery wall feels intentional, stylish, and harmonious.
Creative Ideas to Enhance Your Gallery Wall
- Mix Art Styles: Combine abstract prints with typography or personal photos.
- Add Three-Dimensional Elements: Shelves or small wall sculptures add depth and dimension
- Seasonal Swaps: Change prints with seasons — autumn landscapes in fall, bright florals in spring.
Final Thoughts
A gallery wall built around printable art is an affordable, personalized way to elevate your home’s style. Starting with your favorite digital prints and combining them with quality frames from Amazon makes the process simple and enjoyable. With thoughtful planning and a clear vision, your gallery wall will become a stunning centerpiece of your decor. 🌟
Affiliate Note
This article includes Amazon product recommendations. As an Amazon Associate, I may earn from qualifying purchases at no extra cost to you. All products are chosen based on quality, value, and fit for gallery wall projects


Leave a Reply